

Controleo3 Update Guide
The firmware running on Controleo3 can be updated over USB. The firmware is open-source, and can be found on GitHub. When updating, the user settings and reflow profiles are retained. You can use either a Mac, Linux or Windows PC to do the update. The firmware version running on Controleo3 is shown for 3 seconds when it is turned on. You can also see it by going to Settings -> About. You can find the latest version (and the change log) by looking at GitHub. You can find lots of help on the updating process by doing an Internet search for "Arduino Zero". You can find more information on the Arduino Zero (which is what Controleo3 is based on) here.
Step 1: Download and Install the Arduino IDE
Download and install the Arduino Integrated Development Environment (IDE) from the Arduino web site. Any version of the Arduino software will work, but version 1.8.1 or later is recommended.http://arduino.cc/en/main/software
Step 2: Install the Arduino Zero board
Newer versions of Arduino appear to include the Zero board, so this step isn't needed.
Launch the Arduino IDE (Integrated Development Environment). The Arduino Zero board needs to be installed so that the software for Controleo3 can be compiled. Use the Boards Manager to download and install the Arduino SAMD Boards. You may be asked to install USB drivers for the boards. Go ahead and give permission.


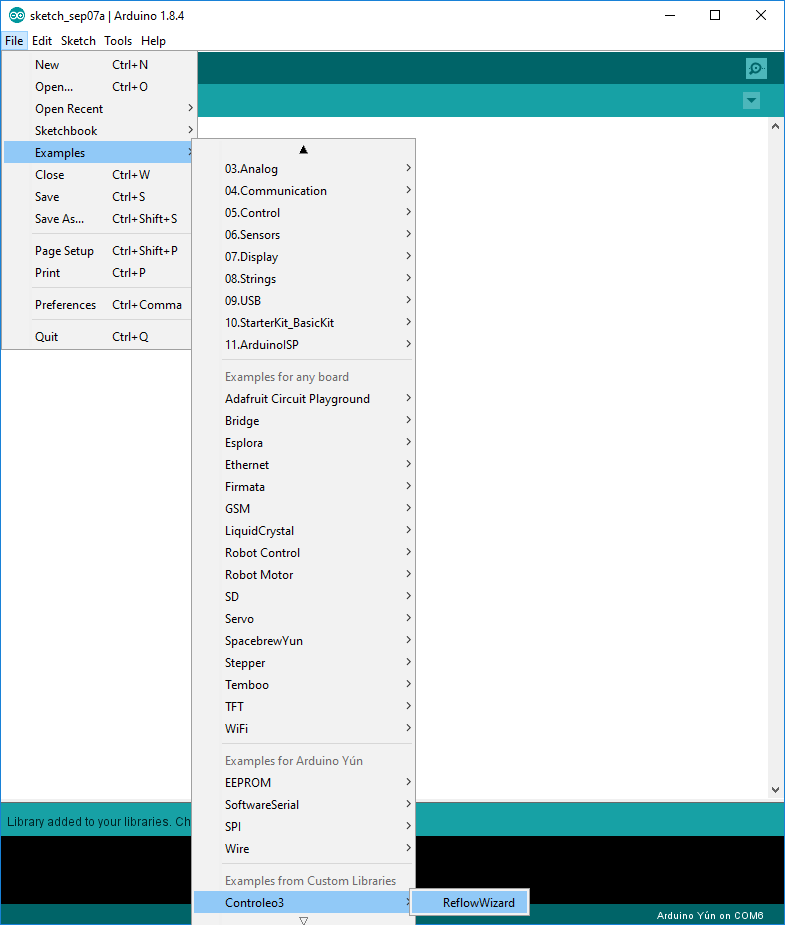
Step 3: Download the Controleo3 Library
Download the Controleo3 library from GitHub by clicking here. Don't unzip it - just save it to your hard drive. Install the library as shown below. You can verify that is has been installed. It should show up in the Library menu.


Step 4: Open the Reflow Wizard sketch
Arduino calls software programs "sketches". Open the Reflow Wizard sketch.
Step 5: Change the Board Type
Change the board type to "Arduino Zero (Native USB Port)".

Step 6: Connect Controleo3 to your computer
Connect Controleo3 to your computer using a micro-USB cable. Controleo3 should appear as a serial port to the computer.
Step 7: Select the serial port
Select the serial port that corresponds to Controleo3.

Step 8: Compile the software
Choose the Verify/Compile menu option to compile the Controleo3 library and the Reflow Wizard software.

Step 9: Upload the firmware
Upload the firmware to Controleo3. This process takes around 10 seconds to complete. All settings (user settings and reflow profiles) will be retained.

Congratulations! You're Done!